สำหรับบทความนี้จะเป็นบทความที่ต่อเนื่องมาจากบทความ >>> วิธีติดตั้ง Frappe Framework
ซึ่งในบทความนี้จะต้องทำการสร้างไซต์และรันโปรเจ็ค frappe framework โดยทำตามขั้นตอนดังนี้
1.เข้าไปที่โฟลเดอร์ frappe-demo และพิมพ์คำสั่ง
bench new-site frappe-demo.localถัดมา
Enter mysql super user [root]:      # กด Enter
MySQL root password:                # ใส่รหัสผ่านของ root

Installing frappe...
Updating DocTypes for frappe        : [========================================] 100%
Set Administrator password:         # กำหนดรหัสผ่านของ Admin ที่จะใช้จัดการระบบ

Updating Dashboard for frappe
frappe-demo.local: SystemSettings.enable_scheduler is UNSET
*** Scheduler is disabled ***
2.กำหนดให้ไซต์ frappe-demo.local เป็นไซต์หลัก
bench use frappe-demo.local3.รันไซต์ frappe-demo.local เพื่อให้สามารถใช้งานได้
bench serveWARNING: This is a development server. Do not use it in a production deployment. Use a production WSGI server instead.
- Running on all addresses (0.0.0.0)
- Running on http://127.0.0.1:8000
- Running on http://172.23.231.88:8000
Press CTRL+C to quit
4.เข้า URL ตามที่แสดงในขั้นตอนที่ 3 เช่น http://127.0.0.1:8000 จะแสดงหน้าจอ
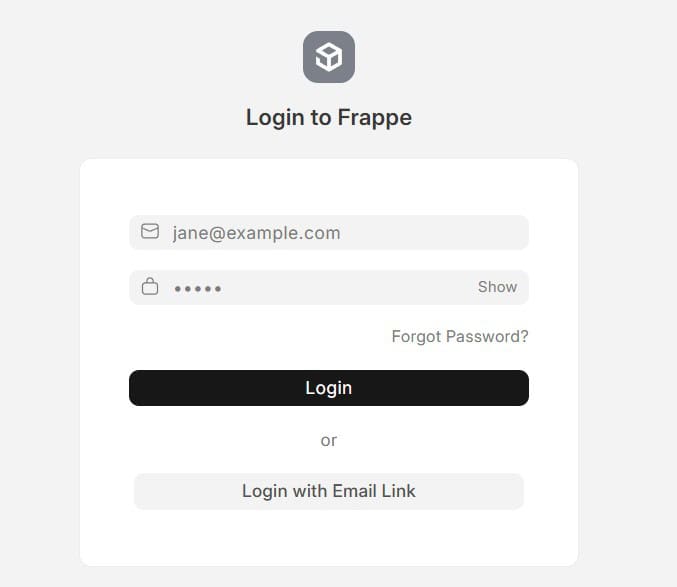
5.ล็อกอินเข้าใช้งาน โดยมี Username และ Password เริ่มต้น คือ
- Username: administrator
- Password: ที่กำหนดในขั้นตอนที่ 1
เมื่อล็อกอินแล้วพบ error:
redis.exceptions.ConnectionError: Error 111 connecting to 127.0.0.1:13000. Connection refused.
ให้ทำการแก้ไข port การเชื่อมต่อ frappe ไปยัง redis จาก 13000 เป็น 6379
nano sites/common_site_config.jsonแก้ไขค่า redis_cache, redis_queue และ redis_socketio
{
 ...
 "redis_cache": "redis://127.0.0.1:6379",
 "redis_queue": "redis://127.0.0.1:6379",
 "redis_socketio": "redis://127.0.0.1:6379",
 ...
}
รันอีกครั้ง bench serve
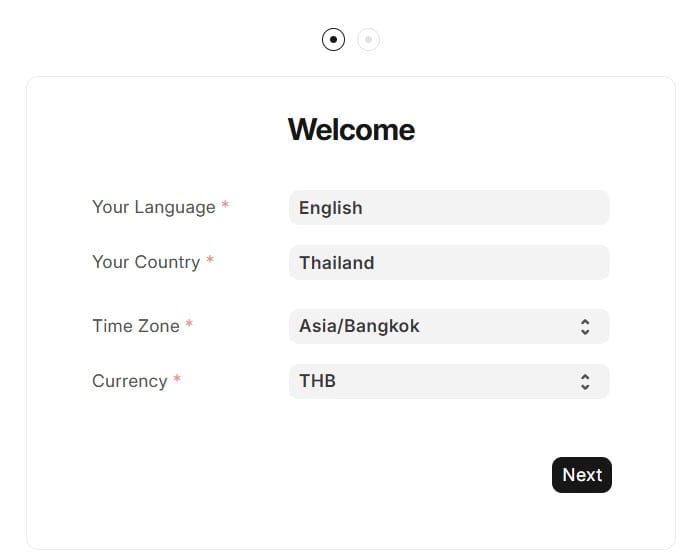
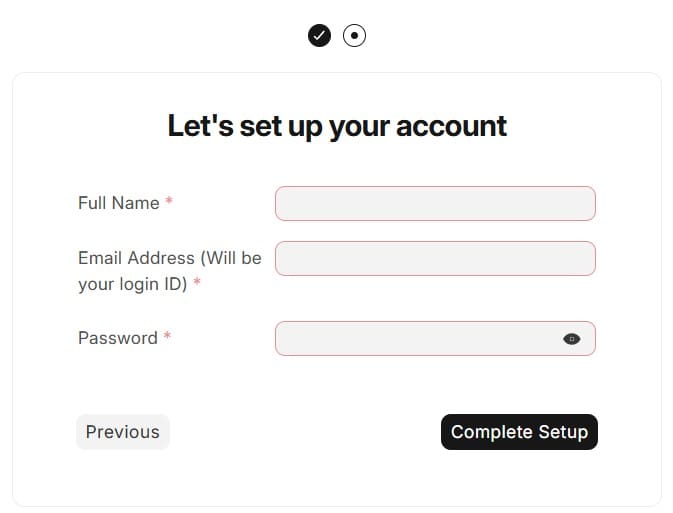
6.จากนั้นระบบจะให้ตั้งค่าต่าง ๆ ดังนี้
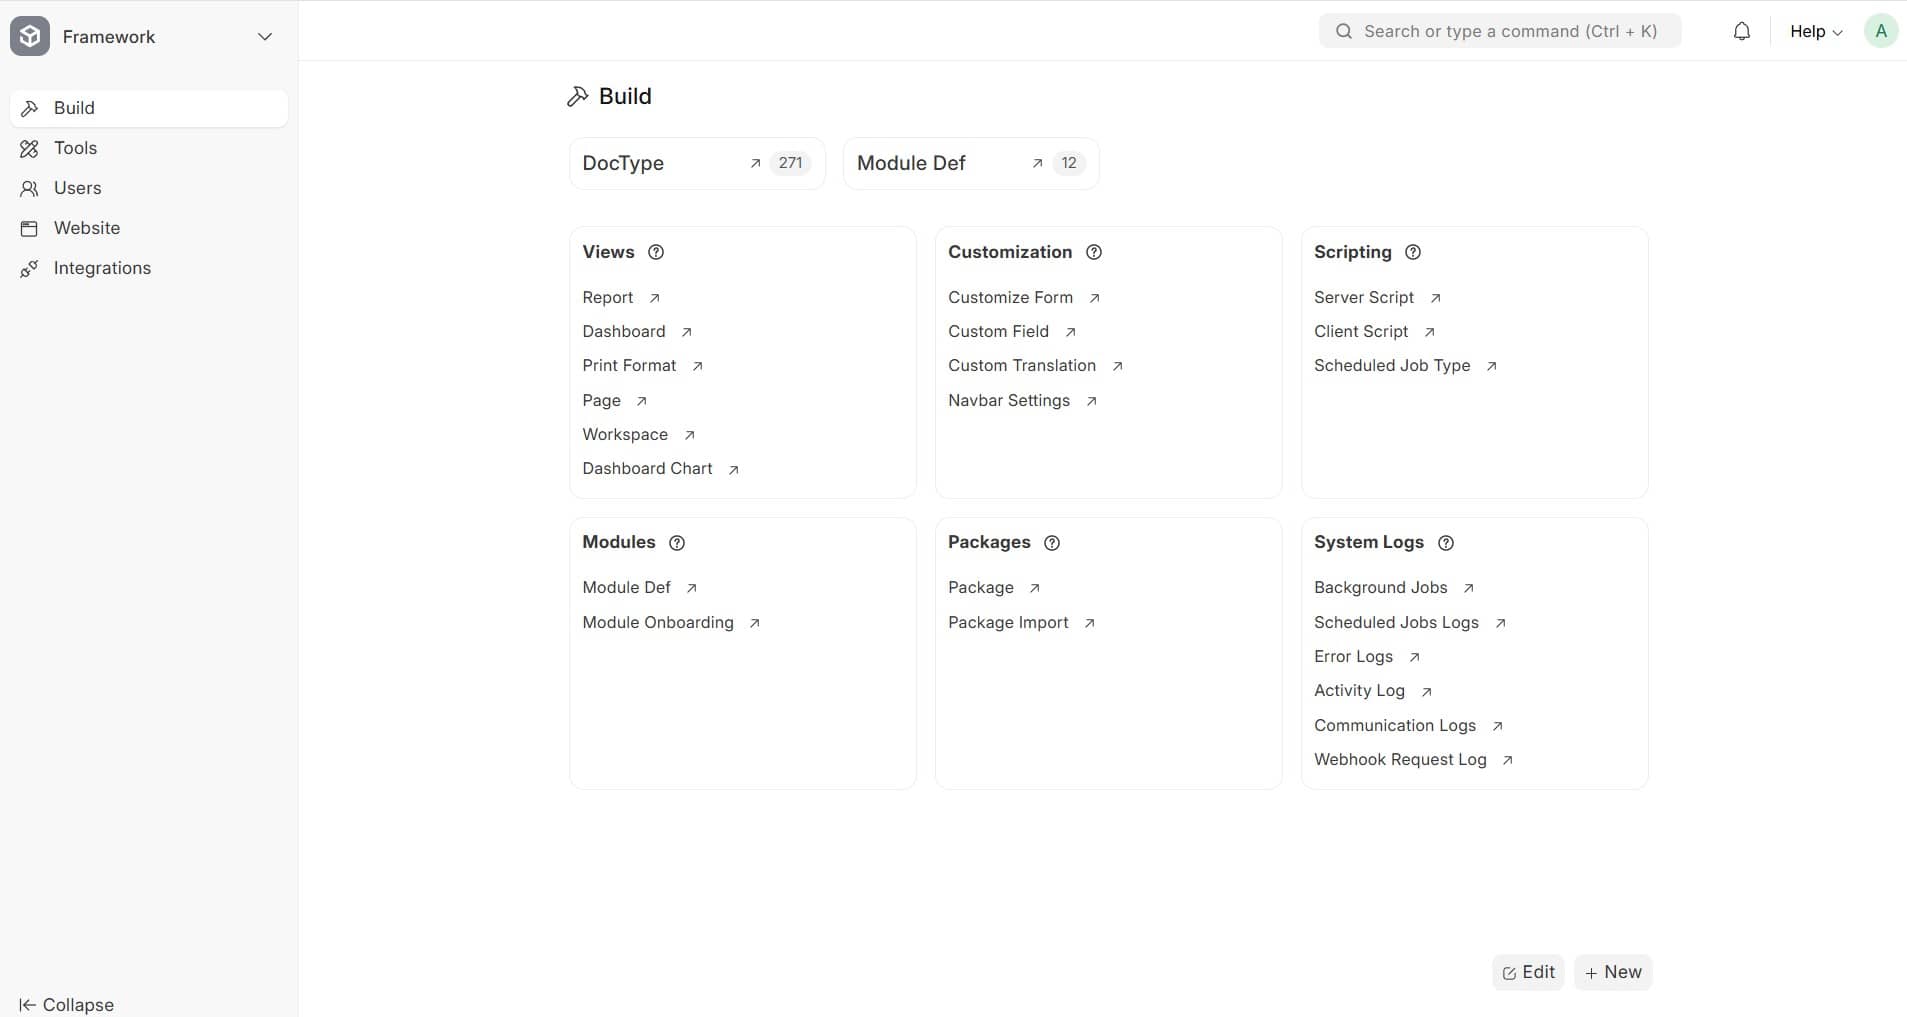
เมื่อตั้งค่าเสร็จแล้วให้รอสักครู่.. ระบบจะเข้าสู่ระบบหลังบ้านของ Frappe ที่ใช้ในการจัดการของระบบ เป็นการสิ้นสุดการติดตั้ง Frappe Framework